Setting Up Your Command Center
One of the first projects for you to set up is creating a place in your current home for your Command Center. This is the place where all of your new home information resides. Since everyone has their own working styles, you will want to customize the Command Center to fit your needs and your space. Here are some ideas to get you started:
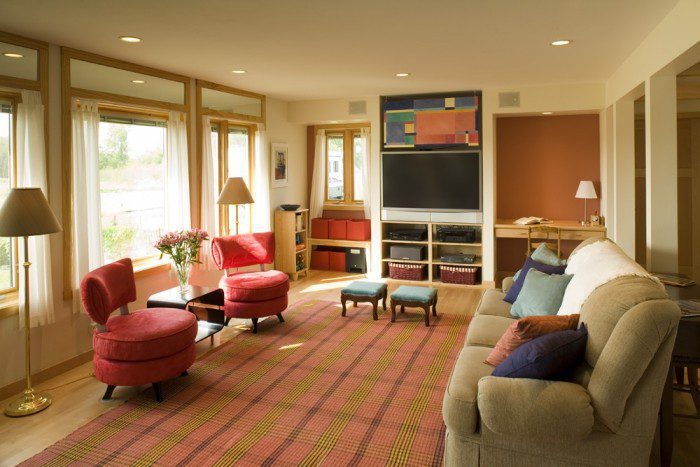
Select a place in your home with good lighting to set up your Command Center. You will be using this space daily for the next several months. Here are the ideal conditions:
- Lots of natural light (to see color samples accurately)
- A large workspace or desk with a computer
- A (big) blank wall to mount your Color + Photo Bulletin Board
- Storage for product brochures & samples
- The freedom to leave things out and even messy, if necessary
Color + Photo Bulletin Board
Your Color + Photo Bulletin Board is an important part of your Command Center. Studying pictures of other homes, rooms and exteriors is a great way to clarify what you want in your new home. Take photos of interesting design ideas. Collect every home and decorating magazine you find. Tear out pages that contain things that interest you, nice cabinets, color combinations, design details, etc. Houzz.com is a great website for design and decorating inspiration. Draw an arrow on the picture pointing to the item of interest and put them on your the photo board. Make your bulletin board as big as possible. Look at your board often and discuss the pictures among yourselves.
Measuring Your World
Exercise One: Measuring Your Current Home
This exercise will help you enormously during the design of your new home. When you have a concrete idea of the size of the spaces in your current home, you are able to get a more realistic idea of the room sizes in your new home.
Grab a friend to help you measure and it will be more fun!
Using a tape measure, measure the width and the length of every room in your home. Use our Measurement Worksheet to record your numbers.
Measure closets, your garage and any other spaces you currently have. Measure your outdoor spaces (patios, porches, courtyards) while you are at it!
Exercise Two: Measuring Your Current Furniture

Before you get out of the measuring mood, measure the height, width, and depth of your main pieces of furniture. When you record your measurements, write them all in the same order to avoid confusion later as follows: height, width, depth. A chair might be 48hx30wx24d
Create a master template of your own furniture on a 1/4" scale piece of graph paper. Draw each piece of furniture to scale on the graph paper with a fine-tipped permanent marker (so you can see the lines to trace later). Label the dimensions. Later, when you arrange your furniture in your rooms, trace the necessary pieces of furniture from this master template, cut them out, and use them on your 1/4" scale plan.
Measure your televisions, workbench, computer, etc. You can even measure your cars (if you have an extended cab pickup or other long vehicle, you might want to increase the size of your garage).
Exercise Three: Measuring Yourself
In order to design a home that is ergonomically correct for you, we will need to design your counter and vanity heights, tub slope, built-in desk, workbench, laundry and storage shelves, and window heights to fit your body size. We realize that there will probably be more than one size person living in your home, and for resale reasons you might not want to get too customized, but there are subtle changes you can make in design to significantly increase your comfort level while working/playing at home. This is one of the perks you get for building a custom home! Use the Measuring Myself worksheet to record your answers.